2018 is in full swing and it already looks like it will be a record setting year for us here at Wilson Auto Repair. We have a steady stream of classic cars and trucks at the shop for simple repairs and full restorations.
Come take a look at some of the work we are doing at the shop this month.
Here we are installing a high output alternator on this 1967 Camaro to provide more electrical charging power to the system.


Next up is this 1956 Chevy that is in for some minor repair issues and getting some updated parts.
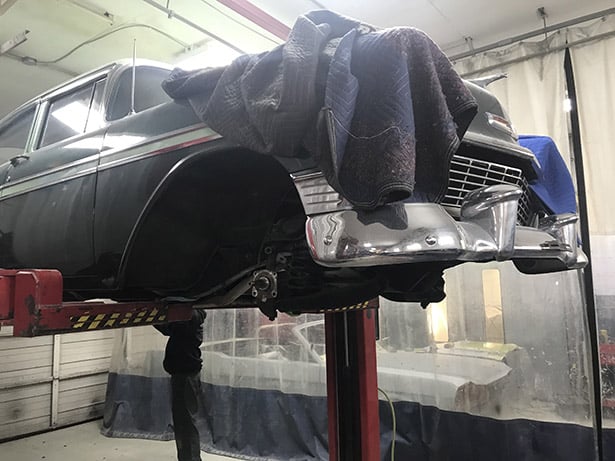
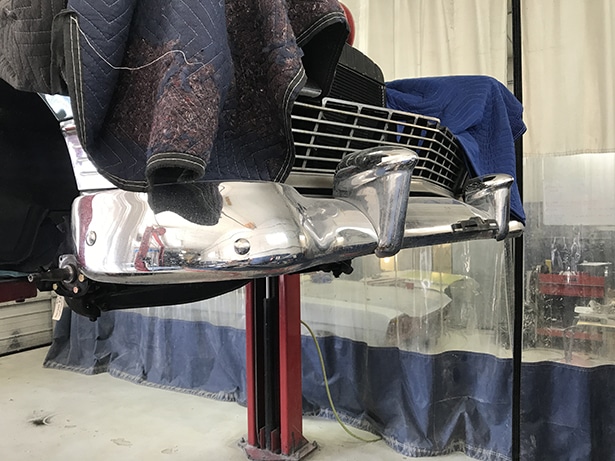
We are upgrading the ignition system with a new distributor, Ignition coil and spark plug wires.


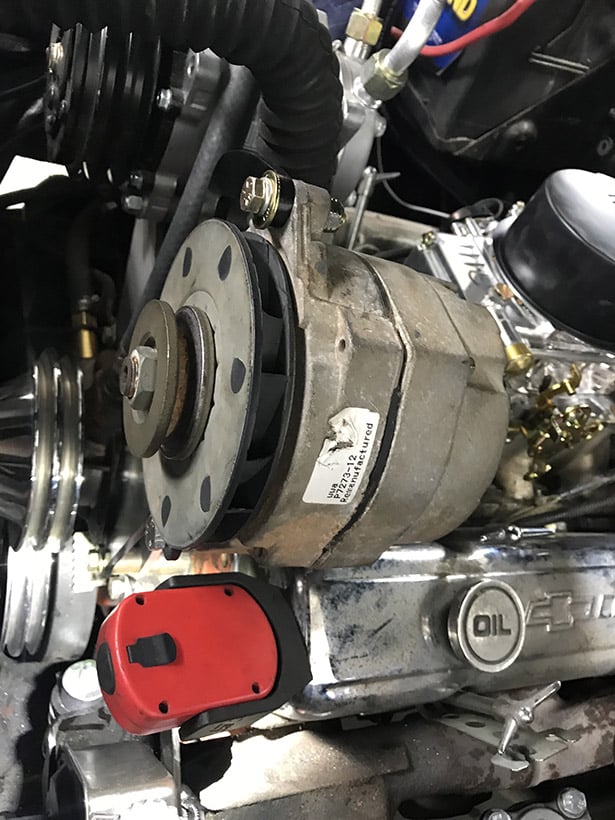
The alternator and AC compressor belts did not line up so we removed the mounting brackets and fabricated new parts. We then made some welds to line up the parts so the V Belt would run straight.
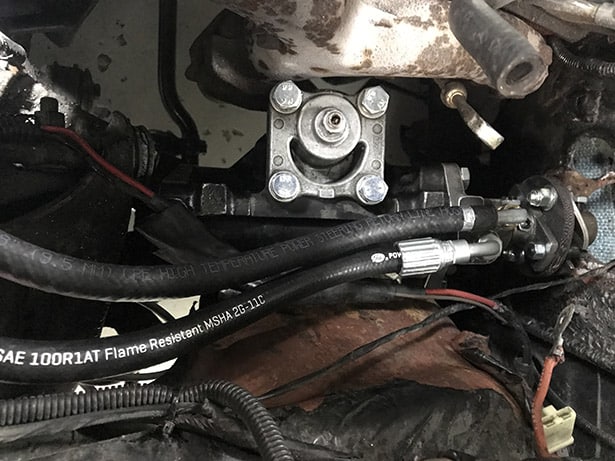
Still working on this 56 Chevy, we installed power steering. You can see we bolted in the power steering pump and had to replace the steering gear box. All this resulted in a new steering column install so the gear shift will work smoothly.

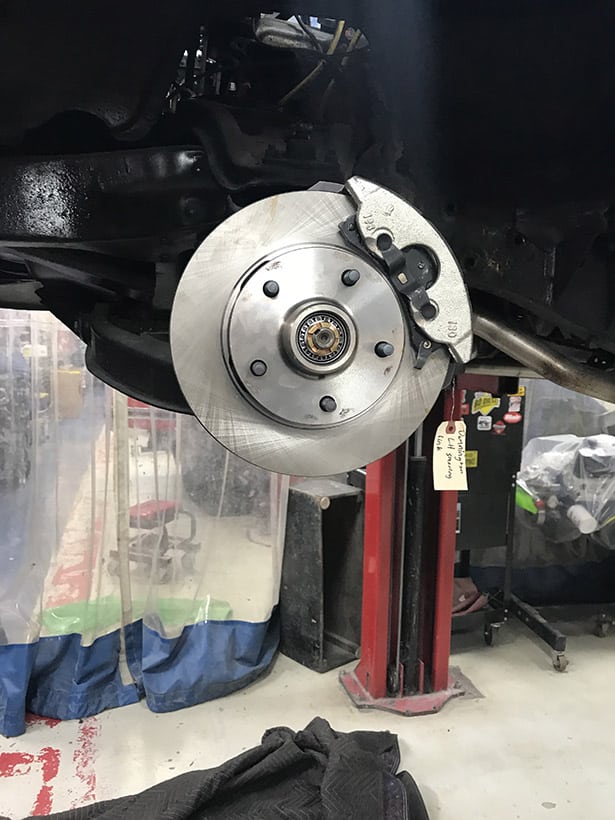
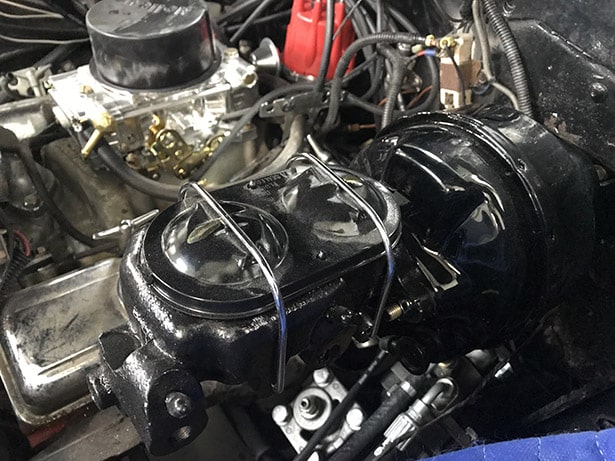
We also installed front disc brakes along with a power brake booster assembly on the 56 Chevy.

In order to make this new radiator fit we had to make new mounting brackets.


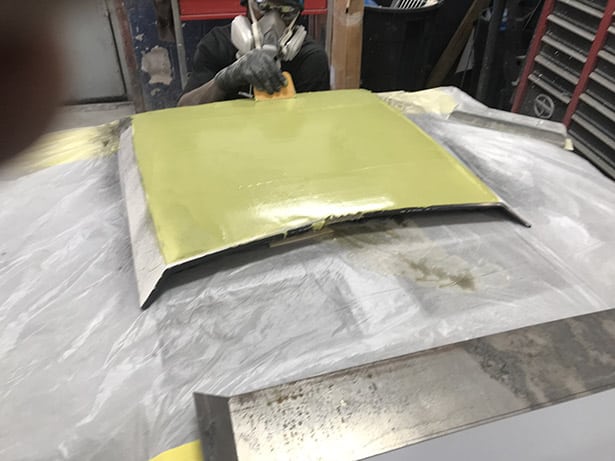
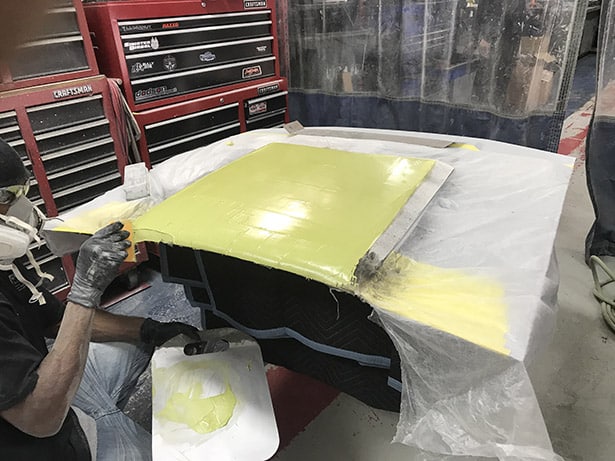
Moving on to another project, we are adding a hood scoop to a 1984 Mercury Capri. We bought a NOS (New Old Stock) Mustang hood scoop and cut it into four sections.


We then fit the parts to the hood, made a bolt template out of cardboard then drilled holes in the hood. That allowed us to bolt the hood scoop to the hood.
We then attached the hood scoop pieces together with sheet metal and then filled the spaces with fiber glass. Wo can see us now smoothing out the fiberglass and beginning to bodywork the scoop.

Be sure to check back soon as are sure to have more pictures from the shop to share.